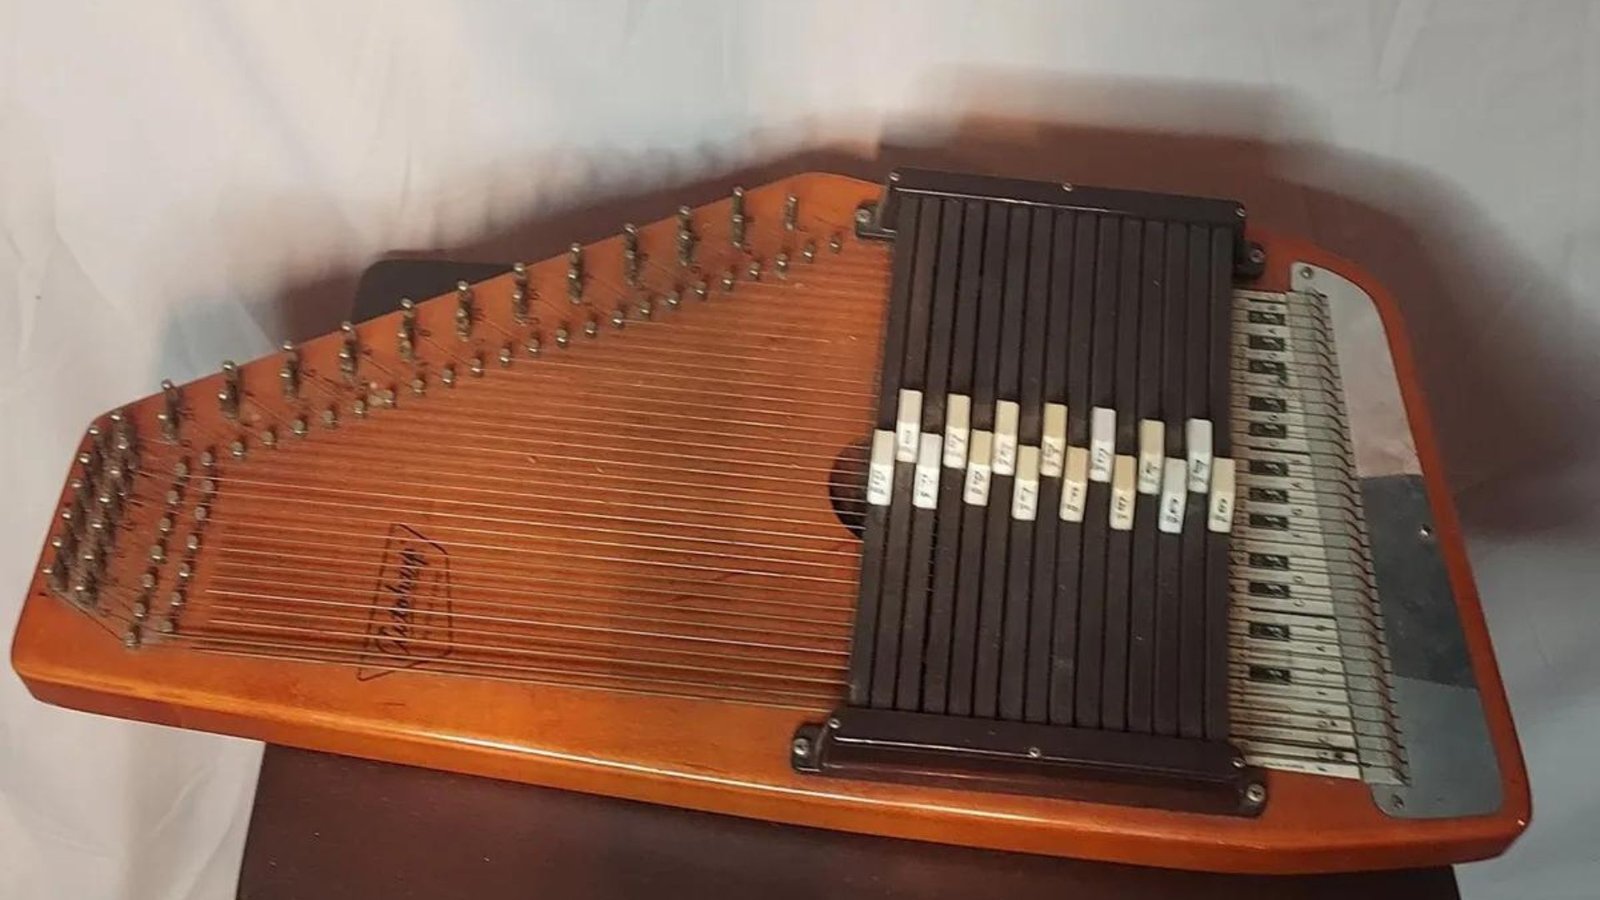
Vintage autoharps, treasured for their distinctive tone and historical significance, often require repair and restoration to maintain their charm and functionality. This guide will walk you through the process of repairing and restoring these cherished instruments.

Assessing the Condition
Before diving into repairs, start with a thorough assessment of the autoharp. Begin by inspecting the instrument visually, looking for any visible damage such as cracks, loose parts, or worn components. Carefully examine the body, strings, chord bars, and tuning pegs. Additionally, conduct functional tests to identify issues with playability, such as broken or buzzing strings, unresponsive chord bars, or unstable tuning.
Cleaning the Instrument
The next step is to clean the autoharp to remove accumulated dirt and grime. For the body, use a soft, damp cloth to gently clean the surface. Avoid harsh chemicals or abrasive materials that could damage the finish. When it comes to the strings, use a string cleaner or a mild soap-and-water solution to clean them. Ensure that the strings are thoroughly dried before reassembling the instrument.
Repairing Structural Damage
If the autoharp has structural damage like cracks or loose components, address these issues carefully. For minor cracks in the body, apply wood glue and clamp the area until it dries. Once the glue has cured, sand the area smooth. If any parts are loose, tighten screws or hardware as needed. For broken or missing parts, consider sourcing replacements or consulting a professional for repairs.
Replacing or Repairing Strings
Strings play a crucial role in the autoharp’s sound. If the strings are worn or damaged, replace or repair them accordingly. Remove the old strings and install new ones of the correct gauge and type. After installing new strings, stretch and tune them properly. If only a few strings are damaged, you might replace them individually, ensuring that all strings are evenly tensioned.
Restoring Chord Bars
Chord bars, which can wear out or become misaligned over time, need to be restored to ensure proper functionality. Clean the chord bars to remove any debris and apply a light lubricant to ensure smooth operation. Check the alignment of the chord bars and adjust them to ensure they correctly mute and sound the appropriate strings when pressed.
Tuning the Autoharp
Once repairs are complete, focus on tuning the autoharp. Use a tuner or tuning app to accurately tune each string to the correct pitch. After tuning, check the stability and make adjustments as needed. Regular maintenance is essential to keep the autoharp in good playing condition.
Refinishing and Cosmetic Restoration
If the vintage autoharp has a worn or damaged finish, consider refinishing it to restore its appearance. Sand the surface if necessary and apply a new coat of lacquer or varnish to protect and enhance the instrument’s look. Additionally, repair or replace any decorative elements or inlays that may have been damaged over time.
Consulting Professionals
Some repairs and restorations may require specialized skills or tools. In such cases, it is wise to consult a professional luthier or autoharp repair specialist. For valuable or historically significant instruments, seek experts who specialize in vintage instrument restoration to ensure high-quality results.
Conclusion
Repairing and restoring vintage autoharps involves careful assessment, cleaning, structural repairs, string maintenance, and tuning. By following these steps, you can preserve the historical value and unique tone of your vintage autoharp. Proper care and restoration will ensure that your autoharp remains a cherished and playable instrument for years to come, whether you are a collector, musician, or enthusiast.


