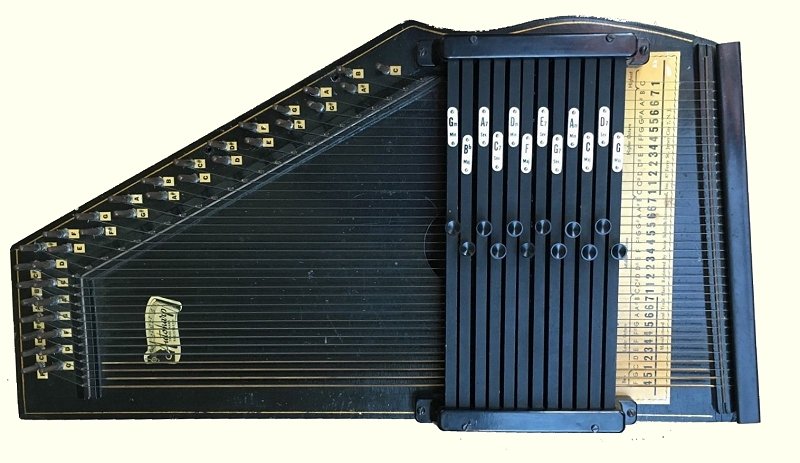
Encountering issues with your autoharp can be frustrating, but understanding how to diagnose and fix common problems is essential for maintaining optimal playability and sound quality. This guide addresses several common autoharp issues and provides practical solutions to ensure your instrument remains in top condition.
Identifying Common Autoharp Issues
String Buzzing and Rattling: One of the most frequent issues autoharpists encounter is string buzzing or rattling. This can occur due to loose strings, improper string seating, or worn felt pads under the chord bars. String buzzing can affect sound clarity and disrupt playing comfort.
Chord Bar Sticking: Chord bars that stick or fail to depress properly when pressed can hinder smooth chord changes and disrupt playing flow. This issue often arises from dust accumulation or debris inside the chord bar mechanism. Sticky chord bars can also be caused by worn-out or misaligned felt pads.

Solutions for Common Autoharp Issues
Fixing String Buzzing and Rattling:
- Check String Tension: Ensure all autoharp strings are properly tensioned. Use a tuner to verify each string is tuned to the correct pitch.
- Inspect Felt Pads: Examine the felt pads under the chord bars for wear or damage. Replace worn-out pads with new ones to eliminate buzzing caused by inadequate cushioning.
- Adjust String Height: Adjust string height (action) if buzzing persists after tuning and felt pad replacement. Lowering the action slightly can sometimes reduce string buzz without sacrificing playability.
Addressing Sticky Chord Bars:
- Clean Chord Bar Mechanism: Use a soft cloth or brush to remove dust and debris from the chord bar mechanism. Avoid using harsh cleaning chemicals that may damage the instrument’s finish or internal components.
- Lubricate Moving Parts: Apply a small amount of powdered graphite or silicone lubricant to the chord bar mechanism. This helps reduce friction and ensures smooth, consistent movement when depressing chord bars.
- Check Felt Pads: Inspect the felt pads beneath the chord bars for wear or misalignment. Replace damaged or misaligned pads to restore proper function and prevent future sticking issues.
Preventative Maintenance Tips
Regular Tuning and Inspection: Schedule regular tuning sessions to keep your autoharp in optimal playing condition. Check string tension, especially after changes in temperature or humidity, to prevent string buzzing and maintain accurate pitch.
Keep the Autoharp Clean: Regularly clean the autoharp’s surfaces, strings, and chord bar mechanisms to prevent dust buildup and debris accumulation. Use a soft cloth and mild cleaning solutions suitable for musical instruments to maintain the instrument’s appearance and functionality.
Seeking Professional Assistance
Consulting a Luthier or Technician: If you encounter persistent issues or are unsure how to resolve them, consider consulting a qualified luthier or autoharp technician. These professionals have expertise in diagnosing and repairing autoharp-specific issues, ensuring thorough and effective solutions.
Routine Maintenance Checks: Schedule periodic maintenance checks with a luthier or technician to assess the autoharp’s overall condition and address any potential issues early. Professional maintenance can prolong the instrument’s lifespan and optimize its performance.
Conclusion
Understanding how to identify and resolve common autoharp issues empowers you to maintain your instrument’s playability and sound quality effectively. By addressing issues such as string buzzing, chord bar sticking, and routine maintenance, you can ensure your autoharp remains in top condition for years of enjoyable playing. Incorporate these troubleshooting tips and preventative measures into your regular instrument care routine to maximize performance and minimize disruptions during practice and performance.


